Panforte di Siena: A holiday cake confection
Panforte is a festive Italian cake which lives up to its name. Pan (bread) forte (strong) are apt descriptors for this dense fruit and nut-jammed cake. Its origin stretches back to Siena, Tuscany during the Middle Ages, when a bread flavored with honey and pepper was paid to the local monks as a tax. When the spice trade introduced a trove of spices to Italy through Venice, more spices were added to the bread, and it became a Christmas tradition.
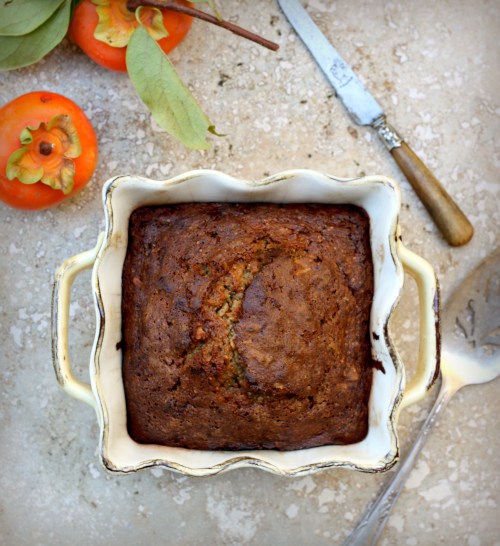
Panforte is a stiff and sticky package; a jumble of nuts, fruit, and dried spice bound together by a slick of honey syrup and chocolate which hardens the cake as it cools, inching it into confection territory. As un-cakey as this might sound, panforte is delicious. The addition of dark and unsweetened chocolate balances the sugar and grounds the spice with warming earthiness. The cake is notably firm, which allows the palate some time to savor the small bites as they dissolve in the mouth. Thanks to its texture, panforte is best enjoyed in small slivers, an ideal accompaniment to coffee or an after-dinner drink, or as a wintry addition to a cheese board.
This is an all-season cake, which means, literally, it will last all season. Make it now and store it in an airtight container where it will keep for up to three weeks at room temperature, or for three months in the refrigerator.
Chocolate Orange Panforte
Makes one (8 to 9-inch cake)
Active time: 20 minutes
Total time: 50 minutes, plus cooling time
1 cup hazelnuts, toasted, skins removed, chopped
1 cup almonds, toasted, chopped
1 cup chopped dried Mission figs
1/2 cup finely chopped candied oranges
1/2 cup golden raisins
3/4 cup all-purpose flour
1/4 cup unsweetened cocoa powder
1 teaspoon ground cinnamon
1/2 teaspoon ground all-spice
1/2 teaspoon ground ginger
1/2 teaspoon freshly ground black pepper
1/2 teaspoon kosher salt
1/4 teaspoon ground coriander
1/4 teaspoon ground cloves
1/4 teaspoon ground nutmeg
3/4 cup honey
3/4 cup granulated sugar
3 ounces finely chopped dark (72%) chocolate
Confectioners’ sugar for garnish
1. Heat the oven to 320°F (160°C). Butter an 8 to 9-inch springform pan and line with parchment paper.
2. Combine the hazelnuts, almonds, figs, candied oranges, and raisins in a large bowl.
3. In a separate bowl, add the flour, cocoa powder, cinnamon, all-spice, ginger, black pepper, salt, coriander, cloves, and nutmeg. Whisk to blend. Pour over the nut and fruit mixture and stir to combine.
4. Combine the honey and sugar in a small saucepan over medium heat. Bring to a boil, and simmer for 3 minutes, stirring occasionally with a wooden spoon. Turn off the heat, add the chocolate and stir until smooth.
5. Working quickly, pour the sugar mixture over the fruit and nuts. Stir to combine (the mixture will immediately stiffen; keep stirring to thoroughly combine). Spread in the prepared cake pan (it will be sticky) and smooth the top.
6. Bake in the oven for 30 minutes. Transfer to a rack to cool for 30 minutes, then then remove from pan. Cool the cake completely (the cake will continue to firm up). Once cool, dust the confectioner’s sugar over the cake.